Your treatment journey, step by step
No two plans are identical. The stages below are the general sequence; your clinician will explain how each applies to you and how long it is likely to take.
1. Assessment
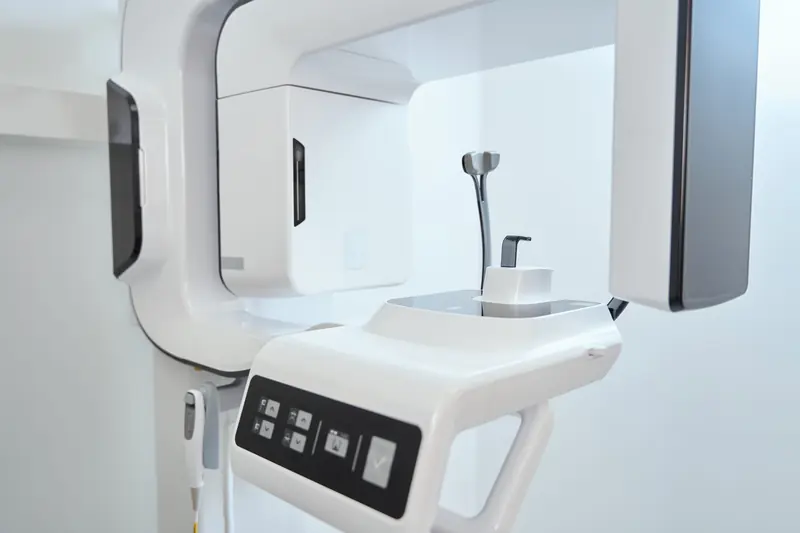
Your first appointment is with a clinician, not a sales consultant. They’ll review your medical history and medicines, examine your teeth, gums and bite, and arrange 3D (CBCT) imaging where it’s clinically indicated. You’ll talk about what’s bothering you, what you’d like to achieve, and the options that could get you there — including options other than full arch implants.
What to bring
- A list of your medicines
- Any recent dental X-rays or scans
- Questions you’d like answered
- A support person, if you’d like one
2. Planning and your written quote
If full arch treatment is a suitable option, your clinician plans the position of each implant and the design of your new teeth using your imaging and digital records. You’ll receive a written, itemised plan and quote that sets out each stage, what is included, and anything that may be needed in addition, such as bone grafting. Take the time you need. You’re welcome to ask for a copy of your records to seek a second opinion.
3. Surgery day
Any failing teeth in the arch being treated are removed and the implants are placed — usually four to six per arch. Surgery for one arch usually takes several hours.
Surgery is performed under local anaesthetic, with or without sedation, or under general anaesthesia in an appropriate facility. The options available depend on your health and on the clinic and facility where your surgery is planned. Your clinician will confirm the approach, who provides any sedation or anaesthesia, and any associated cost before your surgery date.
On the day
- Follow the fasting and medicine instructions you’re given
- If you have sedation or a general anaesthetic, you’ll need an adult to take you home and stay with you
- Plan to rest for the remainder of the day
4. Provisional teeth
Where it is clinically appropriate, a fixed provisional bridge is attached to the implants on the day of surgery or within a few days. In research terms this is called immediate loading, which generally means connecting a prosthesis within one week of placing the implants R6.
Whether this is possible depends on how firmly the implants are held in the bone at surgery. If it isn’t appropriate for you, your clinician will explain the alternative before surgery — for example, a removable temporary denture while the implants heal.
The provisional bridge is designed for the healing phase. It looks like teeth and lets you eat soft foods, but it is lighter and less durable than your definitive bridge.
5. Healing and integration
Over the following months, the implants integrate with the surrounding bone — a process called osseointegration. During this time you’ll follow a staged diet, moving from soft foods towards a normal diet as advised, and attend scheduled reviews so your clinician can check healing. Most people find swelling and discomfort settle substantially within the first week, though everyone heals differently.
- Keep the provisional bridge clean as shown
- Avoid smoking, which raises the risk of implant problems R4
- Contact your clinic straight away if you have increasing pain, swelling, fever or a loose bridge
6. Your definitive bridge
Once your clinician confirms that healing is complete — typically several months after surgery — your definitive bridge is designed, tried in and fitted. Your bite is checked and refined, and you’ll be shown how to clean around the bridge and implants.
Definitive bridges can be made from different materials, including acrylic teeth on a titanium framework (often called titanium-reinforced acrylic) and zirconia. Each has advantages and trade-offs in strength, weight, appearance, repairability and cost, and no single material is right for everyone. Your clinician will recommend an option based on your bite, anatomy and preferences, and your quote will state the material planned.
7. Ongoing care and maintenance
Implant treatment doesn’t end when the definitive bridge is fitted. Regular reviews and professional cleaning help detect inflammation around implants early and keep the bridge in good condition. Over the long term, repairs to the bridge — such as replacing a chipped tooth or a worn screw — are common, and the bridge may eventually need to be remade R3. Your clinician will agree a maintenance schedule with you.
Questions about your own timeline?
Your clinician will map out the likely timeline for your situation at your assessment.